

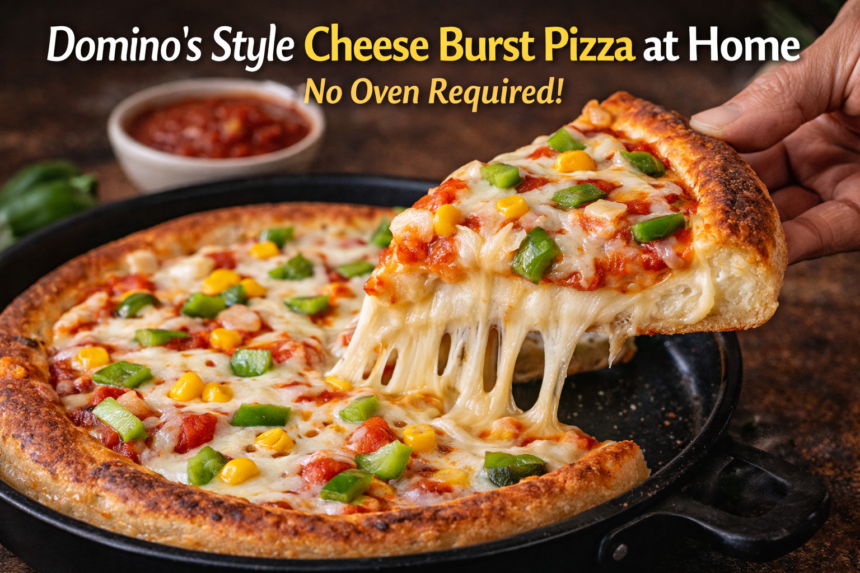
Domino’s Style Cheese burst pizza at home is the ultimate comfort food craving—especially when you want that gooey Domino’s-style cheese pull without ordering delivery or using an oven. That molten cheese hidden inside the crust, the crispy base, and the irresistible stretch? Pure happiness made right in your kitchen.
But then reality hits.
Maybe Domino’s isn’t delivering. Maybe you’re trying to save money. Or maybe—plot twist—you don’t even own an oven.
Good news: you don’t need one.
This guide will show you how to make Domino’s style cheese burst pizza at home without an oven, using simple kitchen tools and ingredients you can actually find. And yes, it’s indulgent, gooey, crispy, and dangerously addictive.
Think of this article as your pizza-loving friend standing next to you in the kitchen, whispering, “Trust me, this is going to be amazing.” Domino’s Style Cheese burst pizza at home
Why Domino’s Style Cheese Burst Pizza Is So Addictive
Before we jump into the how, let’s talk about the why.
Domino’s didn’t invent pizza—but they absolutely perfected the cheese burst concept. It’s not just pizza; it’s a surprise party inside the crust.
What makes it special?
- A double-layered base
- Molten cheese sealed inside
- Crispy outside, creamy inside
- Perfect balance of sauce, toppings, and cheese
It’s like biting into a pillow filled with lava—comforting, risky, and completely worth it.
Recreating this at home might sound intimidating, but once you understand the logic behind it, it’s surprisingly doable.
Can You Really Make Cheese Burst Pizza Without an Oven?
Short answer: Absolutely.
Long answer: You just need to understand heat control, steam trapping, and patience.
Instead of an oven, we use:
- A heavy-bottom pan or tawa
- A lid to trap heat
- Low flame cooking (this is crucial)
Think of it like mimicking an oven environment on your stovetop.
You’re not baking—you’re engineering heat.
And once you nail it? You’ll wonder why you ever waited for delivery.
Ingredients You’ll Need (Simple, No Fancy Stuff)
Let’s keep this real. You don’t need imported cheese or restaurant-only ingredients.
For the Pizza Dough
- 2 cups all-purpose flour (maida)
- 1 tsp instant yeast
- 1 tsp sugar
- ½ tsp salt
- 1 tbsp oil
- Warm water (as needed)
For the Cheese Burst Layer
- 1 cup mozzarella cheese (block preferred, grated)
- 2 tbsp processed cheese (for creaminess)
- 1 tbsp fresh cream or milk
Pizza Sauce
- 3 tbsp tomato ketchup or pizza sauce
- 1 tsp garlic (minced)
- ½ tsp chili flakes
- ½ tsp oregano
- Salt to taste
Toppings (Customize Freely)
- Onion, capsicum, corn, olives
- Paneer or cooked chicken
- Extra mozzarella (because why not?)
The Secret Behind Domino’s Cheese Burst Crust
Here’s where most people mess up.
Cheese burst pizza isn’t about dumping cheese on dough. It’s about sealing cheese between two thin layers of dough, like a cheesy envelope.
Think of it as a cheese-stuffed paratha, but Italian.
The key rules:
- Dough must be rolled thin
- Cheese layer must stay sealed
- Edges must be tight (no leaks!)
Follow these, and you’re golden.
Step-by-Step Dough Preparation (Soft, Stretchy, Perfect)
Step 1: Activate the Yeast
In a bowl, mix:
- Warm water
- Sugar
- Yeast
Let it sit for 10 minutes.
If it gets foamy, congratulations—you’re alive and baking.
Step 2: Knead Like You Mean It
Add flour, salt, oil, and the yeast mixture.
Knead for 8–10 minutes until the dough becomes soft and elastic.
Pro tip:
If the dough bounces back when poked, it’s ready.
Step 3: Let It Rise
Cover and rest for 1–1.5 hours until doubled.
This is when magic happens. Yeast is basically throwing a party in your dough.
Preparing the Cheese Burst Filling
In a bowl, mix:
- Mozzarella
- Processed cheese
- Cream or milk
The texture should be thick, spreadable, and slightly sticky.
This blend ensures:
- Stretchiness from mozzarella
- Creaminess from processed cheese
- Melt stability from cream
In other words—no dry cheese disasters.
Assembling the Cheese Burst Base (The Make-or-Break Step)
Divide the dough into two balls.
Step 1: Roll the Base
Roll the first dough ball into a thin circle.
Step 2: Spread the Cheese
Place the cheese mixture in the center, leaving space around the edges.
Step 3: Seal with Second Layer
Roll the second dough ball and place it on top.
Seal edges tightly—press, fold, pinch.
This is like sealing a secret.
If it leaks, the surprise is ruined.
Cooking the Pizza Base on a Pan (No Oven Method)
Heat a heavy pan on low flame.
- Lightly grease the pan
- Place the pizza base
- Cover with a lid
Cook for 8–10 minutes on low flame.
You’re looking for:
- Light browning at the bottom
- Steam cooking on top
Flip gently if needed—but carefully. This is a delicate relationship.
Adding Sauce, Toppings, and Cheese
Once the base is cooked halfway:
- Spread pizza sauce
- Add toppings
- Sprinkle mozzarella generously
Cover again and cook on low flame for another 7–8 minutes.
The cheese should melt slowly, not burn.
Patience = perfection.
How to Get That Domino’s-Style Cheese Pull
Here’s the trick nobody tells you:
- Turn off the flame
- Let the pizza rest for 2 minutes
- Then slice
This allows the cheese inside to relax and stretch instead of spilling.
It’s like letting a hot cup of coffee cool slightly—worth the wait.
Common Mistakes to Avoid
Let’s save you heartbreak.
Cooking on high flame
Overloading toppings
Not sealing edges properly
Using only processed cheese
Skipping the lid
Remember: low heat + patience = Domino’s-level results.
Flavor Variations You Can Try
Spicy Indian Style
- Paneer tikka
- Jalapeños
- Peri-peri seasoning
Classic Veg Supreme
- Onion, capsicum, mushroom
- Extra oregano
Chicken Lovers
- Pre-cooked chicken
- Barbecue sauce swirl
Pizza is a canvas. Paint boldly.
Is Homemade Cheese Burst Pizza Healthier Than Domino’s?
Short answer: Yes—if you want it to be.
You control:
- Oil quantity
- Cheese quality
- Toppings
- Portion size
No preservatives. No mystery ingredients. Just honest indulgence.
Why Making Pizza at Home Feels So Satisfying
There’s something deeply comforting about making pizza from scratch.
It’s messy.
It smells incredible.
And it feels like a small victory over adulthood.
You’re not just cooking—you’re creating.
The Ultimate Troubleshooting & FAQ Guide: How to Avoid Pizza Failures
Making a professional-grade pizza at home without an industrial oven is an art form. Even for seasoned home cooks, the transition to stovetop baking can be tricky. To ensure your first attempt is a massive success, I’ve compiled the most common challenges and their expert solutions.
1. Why is my pizza base burnt at the bottom but raw on top?
This is the most common hurdle in pan-cooking. It happens when the heat is too direct or the flame is too high.
-
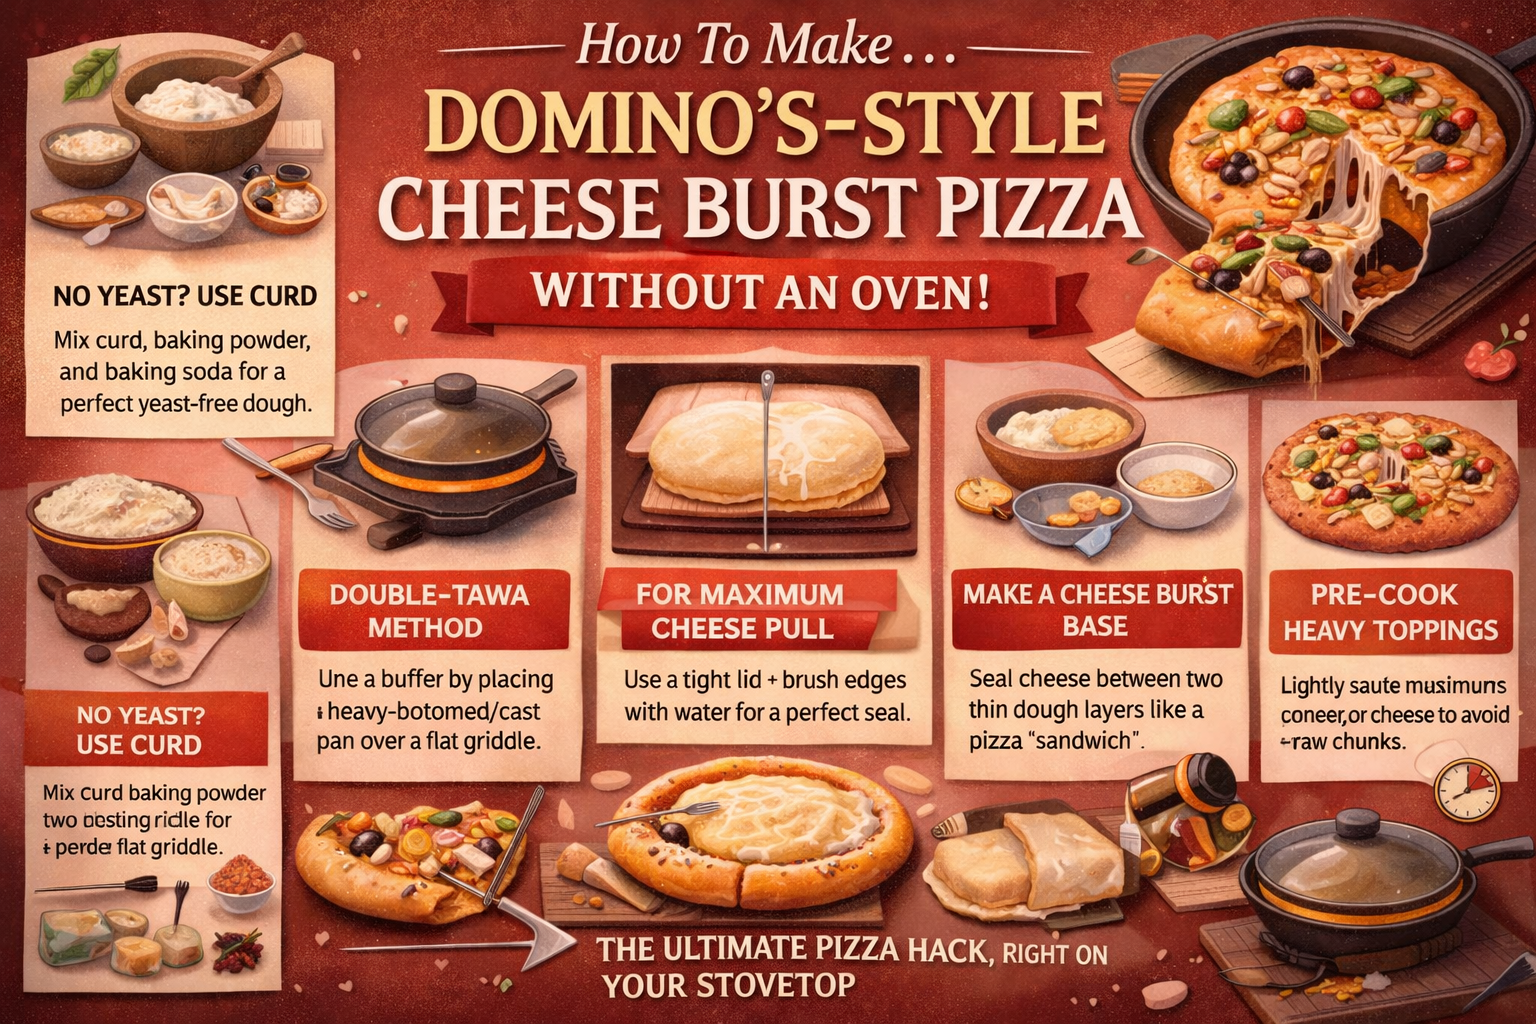
The Fix: Always use a heavy-bottomed pan or a cast-iron skillet. If you only have a thin pan, use the “Double-Tawa Method”: Place a flat griddle (tawa) on the stove first, then place your pizza pan on top of it. This creates a buffer zone of air that mimics the indirect heat of a professional oven.
2. Why isn’t the cheese melting properly?
If your dough is cooked but the cheese remains solid, you are losing heat.
-
The Fix: You must use a tight-fitting lid. If steam escapes, the top of your pizza won’t cook. Also, ensure your cheese is at room temperature before you start. Cold cheese from the fridge takes much longer to melt, often leading to an overcooked base.
3. Can I substitute All-Purpose Flour (Maida) with Whole Wheat Flour (Atta)?
-
The Answer: Yes, you can. However, keep in mind that whole wheat flour absorbs more water and produces a denser, heavier crust. To get that signature Domino’s light and airy crunch, Maida is the gold standard. For a healthier middle ground, try a 50:50 ratio of wheat and white flour.
4. How can I make the dough if I don’t have Yeast?
Don’t let a lack of yeast stop your pizza party!
-
The Alternative: You can make a No-Yeast Dough by using curd and leavening agents. Mix 2 cups of flour with 1/2 cup thick curd, 1 tsp baking powder, and 1/2 tsp baking soda. Let this dough rest for at least 2 hours. The reaction between the acidity of the curd and the soda will create the bubbles needed for a soft crust.
5. What if the liquid cheese filling leaks out?
A “Cheese Leak” happens when the two layers of dough aren’t fused correctly.
-
Pro Tip: When placing the top layer of dough over the cheese filling, lightly brush the edges of the bottom layer with water. Press the edges together firmly and fold them inward. Think of it like sealing a pie crust—tight and secure is the way to go.
6. My veggies still feel completely raw. What did I do wrong?
Since a stovetop doesn’t provide top-down heat, dense vegetables might not soften in time.
-
The Fix: Slice your onions and capsicum very thin. If you are using “heavy” toppings like Paneer, Mushrooms, or Chicken, lightly sauté them in a pan for 2 minutes before adding them to the pizza. This ensures they are hot and flavorful when the cheese melts.
Pro-Tips for the Perfect Slice:
The 2-Minute Rest: Never slice your pizza the second it leaves the pan. Let it rest for 2 minutes. This allows the molten cheese inside the “burst” layer to stabilize so it stretches beautifully rather than just running out like water.
The Cornmeal Trick: Sprinkle a little cornmeal (makki ka atta) on the pan before placing the dough. It prevents sticking and gives the bottom that professional, grainy crunch you find in high-end pizzerias.
Conclusion
You don’t need a fancy oven.
You don’t need professional tools.
And you definitely don’t need to wait for delivery.
With a pan, patience, and a love for cheese, you can make Domino’s style cheese burst pizza at home that’s just as indulgent—if not better.
Once you try this, regular pizza might never satisfy you again.
Food isn’t just about eating.
It’s about memories, cravings, and moments when melted cheese makes everything feel okay.
This no-oven Domino’s style cheese burst pizza proves one thing:
Great food doesn’t require complicated equipment—just passion and a little confidence.
Now go on.
Heat that pan.
Seal that cheese.
And make your kitchen smell like happiness